Our Blog

Archive for Announcements

A Strong Base: The Key to Lasting Asphalt

Paver and crew working over a prepared gravel base

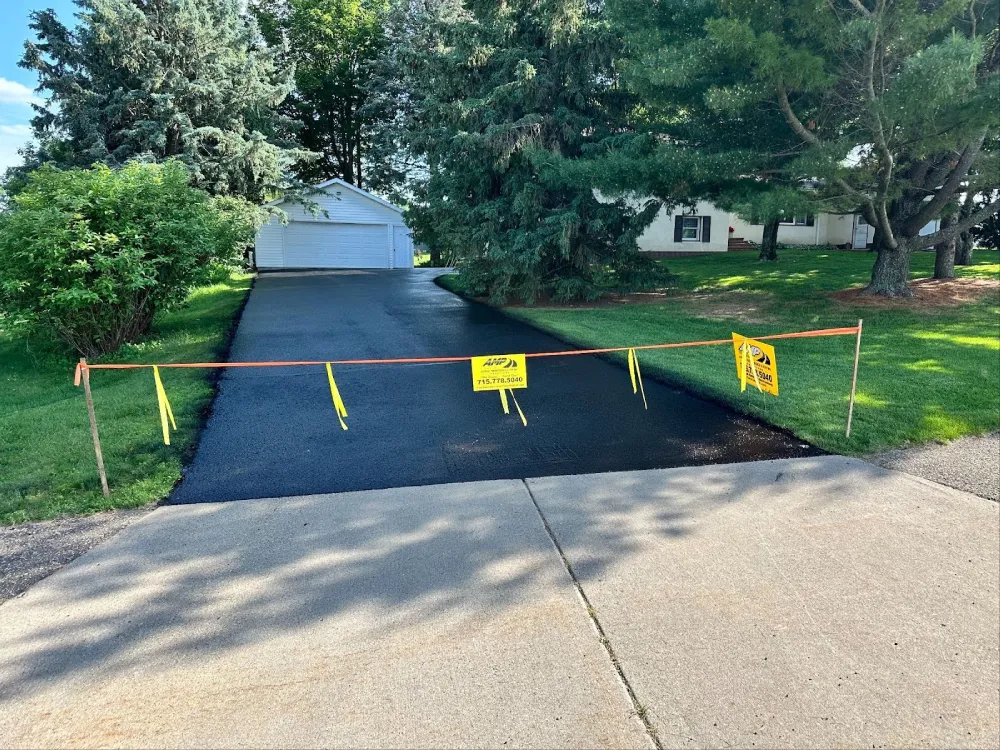
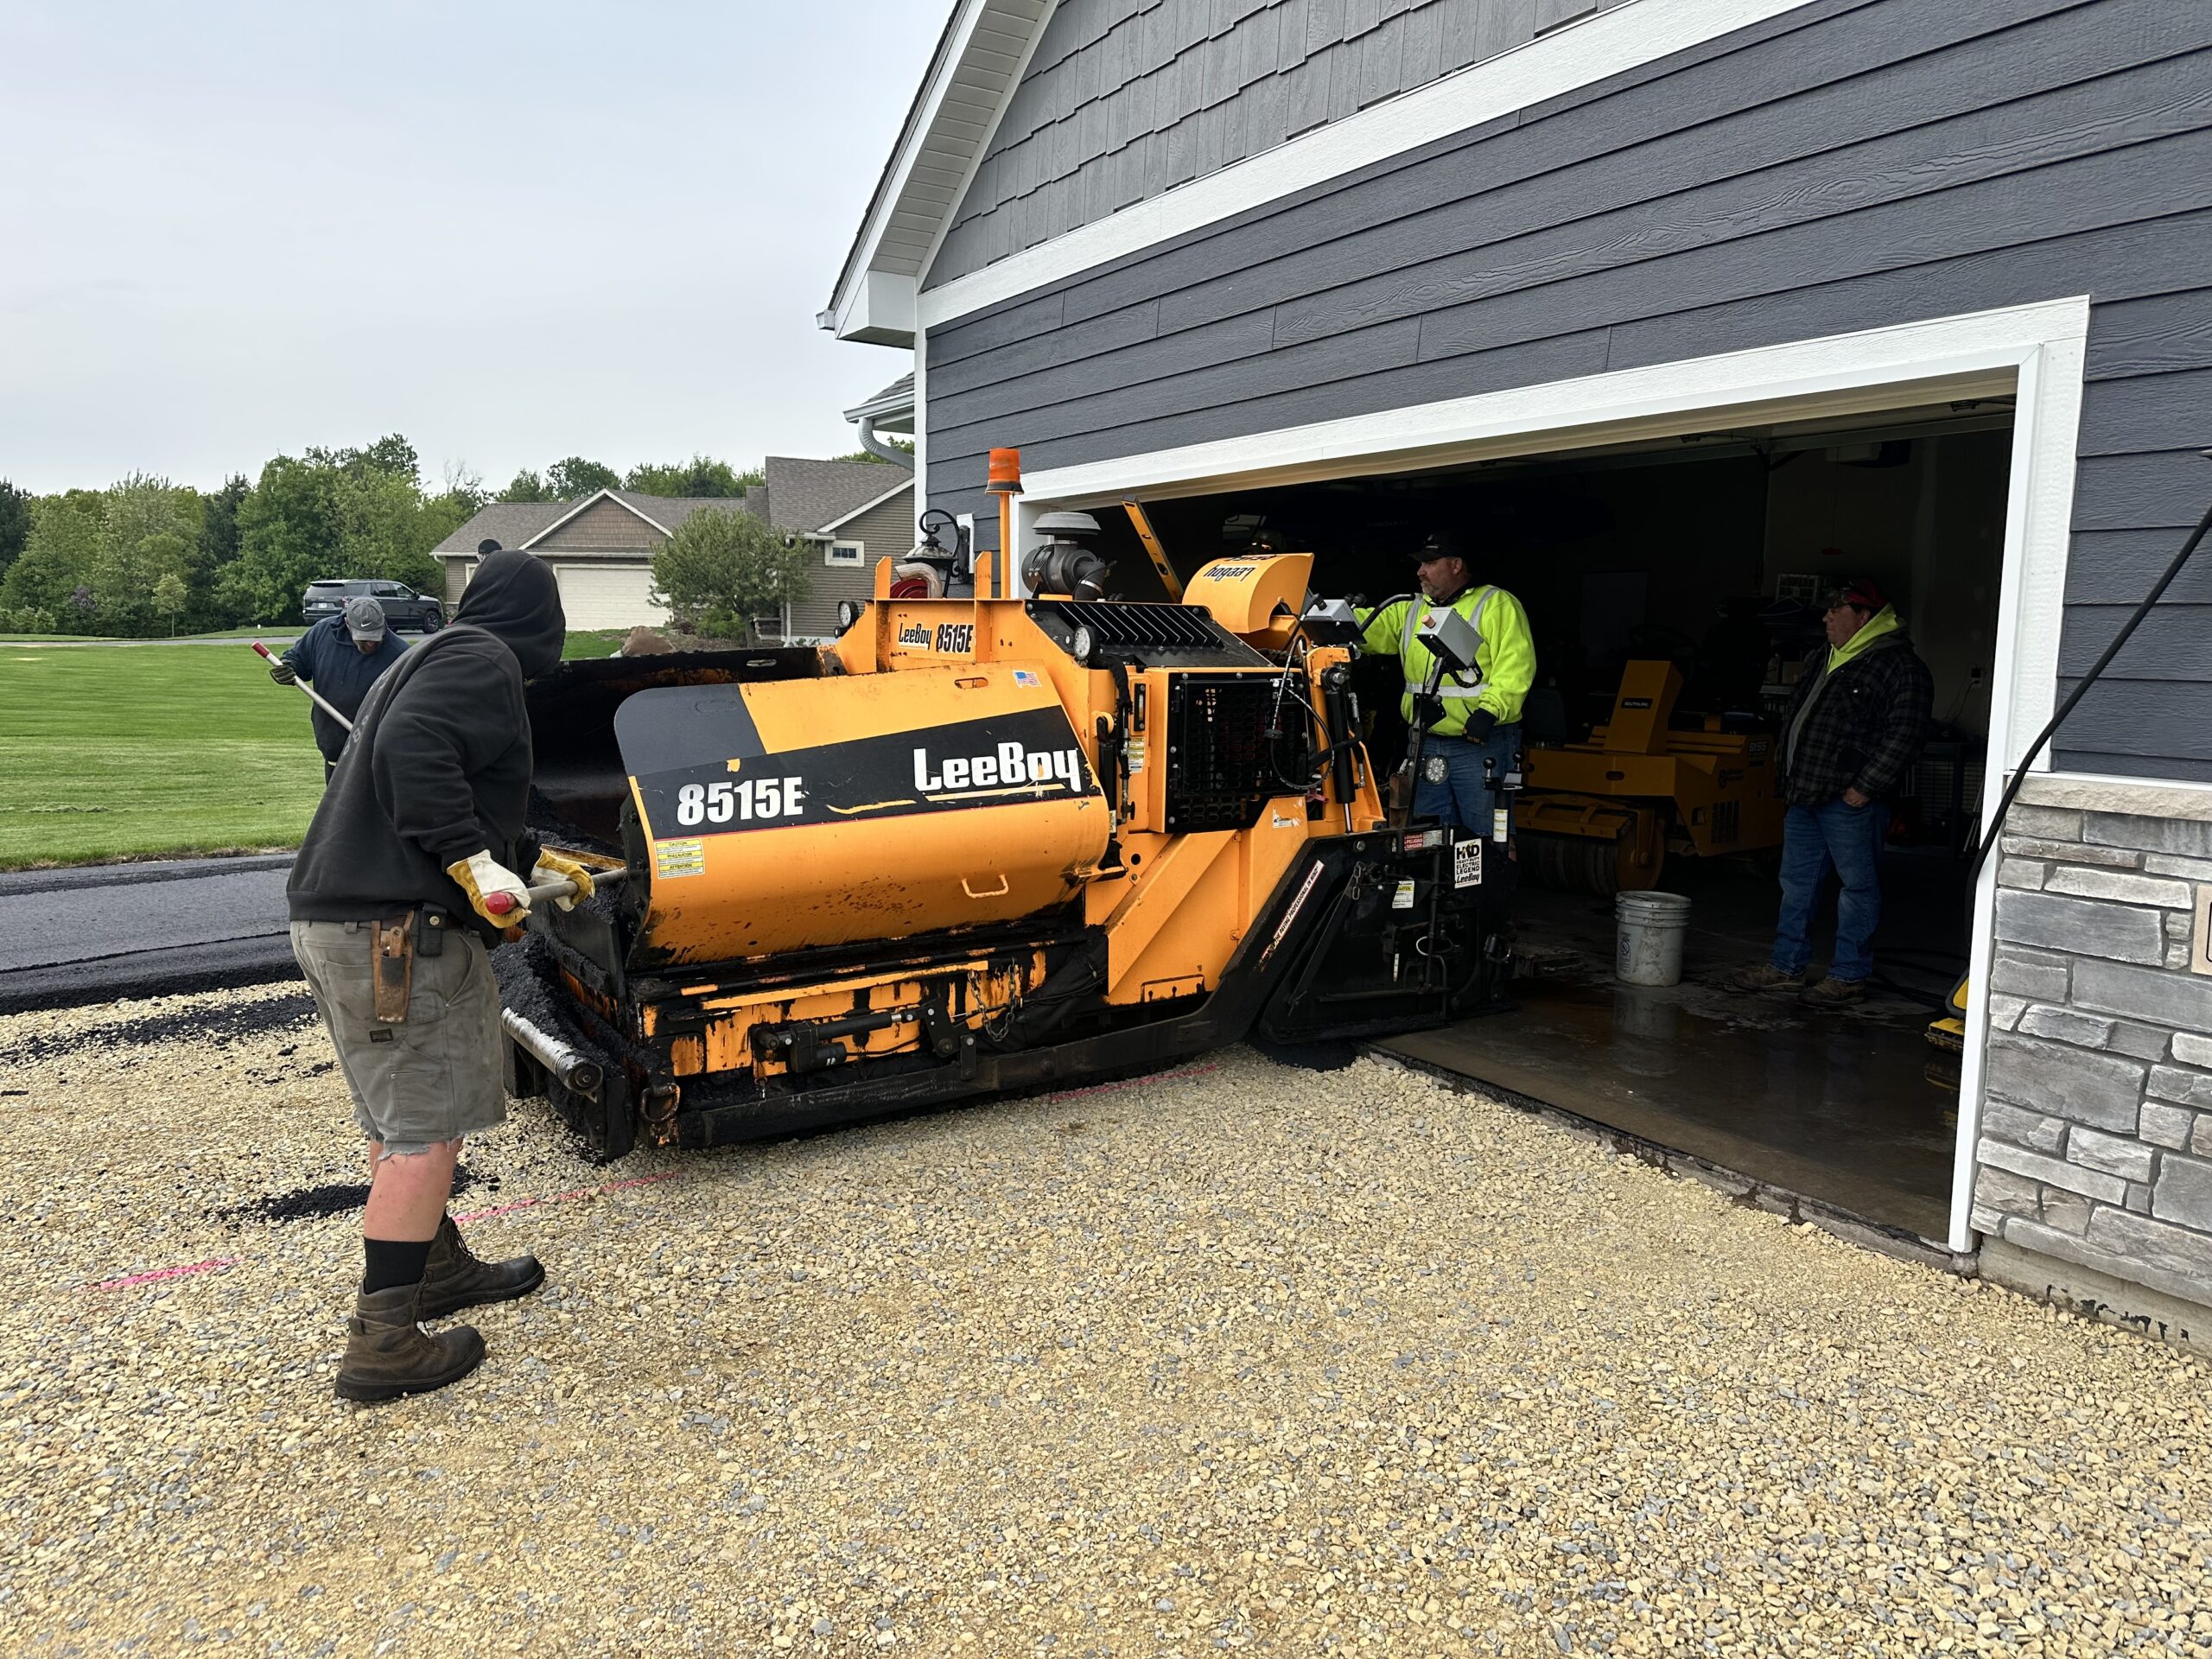
Freshly paved asphalt has the same appeal as a wrapped Christmas present. It’s the part everyone notices, and the clean finish that makes the whole project look complete. But, just like any neatly wrapped gift, plenty happens before you ever see that final sealcoated surface.

At Asphalt Maintenance & Paving, we spend a good portion of every project working on what you don’t see. The base is where a pavement earns its strength or starts losing it. Build it properly and the asphalt above will withstand the wrath of weight, weather, and time. Cut corners, and the surface will eventually show every shortcut.

What the Base Actually Does (And Why It Matters So Much)

The base is essentially the pavement’s backbone. It carries the weight of vehicles, prevents shifting, and stops the surface from flexing more than it should. Asphalt is not meant to carry all the weight by itself; it’s only a finishing layer. The base underneath is what provides the real support.

A solid base:

  • Spreads weight evenly. Without that support, the asphalt flexes more than it should, which is when cracks start forming.
  • Moves water away instead of trapping it. Water under pavement is the beginning of most failures. A well-graded base keeps that from happening.
  • Prevents shifting. Pavement doesn’t just “settle” on its own. It settles because the foundation underneath wasn’t compacted or prepared right.

Most early pavement problems, even ones that look like asphalt issues, start under the surface.

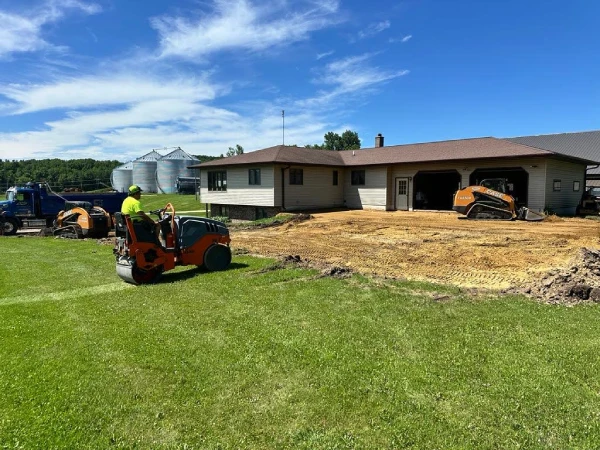
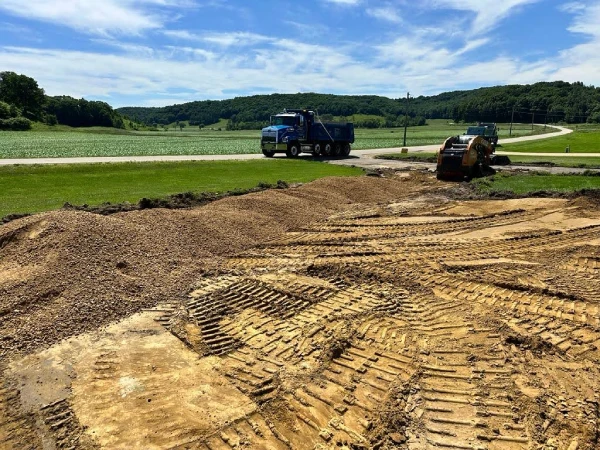
How a Good Base Is Built

The process of building a dependable base is mainly about removing anything that cannot hold its shape. Soft soil, leftover debris, and pockets where water tends to sit are cleared out so the ground underneath is actually capable of supporting pavement. The subgrade is then shaped with a slight slope. That small change in elevation keeps water moving instead of settling beneath the asphalt.

The stone base goes in next. Not all at once, but in controlled layers. Each layer is tightened with compaction equipment until the material locks together. That compaction is where the base earns its strength. A layer that looks solid from a distance can still shift under load if it has not been compacted thoroughly.

A dependable base comes from a few non-negotiables:

  • Ground that won’t give way
  • Drainage that actually works
  • Layered stone that’s placed and compacted with intent

Done well, and the base will look like a finished surface of its own and allow the asphalt above it to last.

What Happens When This Step Is Skipped or Rushed

Skipping or rushing base work will always catch up to you later. You’ll see dips forming where the base settled, cracks spreading in patterns that match weak areas below, or edges breaking apart because nothing underneath was holding them. Surface patching can mask symptoms for a while, but it won’t correct a weak foundation. The solution for a failing base will usually require removing and rebuilding it.

A solid base is the real investment. Every layer that follows depends on it.

Invest in the Base, Protect the Pavement

A strong base benefits everyone; it’s where pavement earns its lifespan. Homeowners who want a paved driveway that won’t break apart after a few winters and businesses that rely on stable parking lots that hold up to heavy traffic, will benefit from proper base installation and compaction work. The asphalt is just the finish; the base is the reason it lasts.

The Asphalt Maintenance & Paving team has built a reputation on doing this part right. We focus our time there because everything above it depends on that foundation staying put.

Put your next paving job on solid ground – contact us today.

Sealcoating 101: Protecting Asphalt Before Winter

Asphalt bears the brunt of every tire, storm, and season. Yet, winter remains its ultimate test. The cold has a way of exposing what time and traffic have started, every weakness and crack, every bit of neglect and wear.

When asphalt fails, it is not all at once. It starts small, like the faint graying on the surface or a light crack. Then the first hard freeze hits and water trapped inside those gaps expands like a wedge. By spring, that fine line has opened into a break.

Sealcoating before winter is what stops that progression, closing off those openings and preserving the strength beneath. At Asphalt Maintenance & Paving, we treat it as the last coat of protection before the freeze starts tearing at the surface.

What Asphalt Sealcoating Really Does

Sealcoating functions as a protective cover applied over asphalt pavement. It is essentially like sunscreen for your parking lot or driveway, a barrier that shields the surface from oxidation, water, oil, and the relentless UV rays that dry out and weaken asphalt with time.

Asphalt naturally hardens and loses flexibility throughout the seasons. As this starts to happen, cracks are easier to form and water can find its way in. Sealcoating locks out that moisture, repels the elements instead of absorbing them, and restores the rich black finish that gives your pavement that “just paved” look again.

Timing Is Everything

Sealcoating is most effective before the temperatures drop. The moment the air temperature gets too cold, the material will not cure properly, and that protection is lost for the season. Applying it in the fall guarantees the surface is sealed tight before the freeze-thaw cycle begins, the point at which water expansion does its worst damage.

The difference is easy to see come spring: an adequately sealed lot holds its shape, color, and strength. Untreated pavement will start to unravel.

The Difference You Can See (and Feel)

The transformation after a professional sealcoating job is immediate and noticeable. The surface takes back its depth, that dark, tight look of new pavement. Small imperfections vanish, and you can feel the difference underfoot and under tires. The shine catches your eye, but the real difference sits below, when the frost hits and the surface holds.

The Work Behind the Finish

Sealcoating only holds as well as the surface it bonds to. We spend as much time getting the pavement ready as we do putting material down. Dust, oil, and loose stone all have to be gone. Cracks are worked clean and filled so the sealer has something solid to grab. When the coat goes on, it lays tight and cures slowly, building a skin that can take another season of weather and weight without letting go.

We’ve spent decades refining our process to handle everything from commercial sealcoating projects to large sealcoating and paving maintenance programs. We’ve learned when to lay it, when to wait, and when to walk away for the day. Every lot tells you what it needs if you’ve done this long enough to listen.

Get Ready Before the Freeze

Winter has a way of always testing your pavement. Water finds the smallest opening and goes to work as the temperature swings. A fresh asphalt sealcoating job before the cold sets in keeps moisture on the surface where it belongs and gives the asphalt the resilience it needs to ride out the freeze. Spring arrives and that surface still holds its line.

Get the seal down before the frost moves in and let the work speak for itself when the thaw comes. Contact us today to schedule your pre-winter asphalt sealcoating service.

Excavation & Grading: The First Step to Quality Asphalt

You can judge a paving job before the asphalt even shows up by merely looking at the dirt. The real work, the work that determines the longevity of your pavement, occurs below the surface. This would be known as the excavation and grading stage, where a truly great asphalt paving job actually begins.

Starting From the Ground Up

Underneath a new asphalt surface is a battle with the forces of nature: shifting soils, water intrusion, freeze-thaw cycles, and heavy traffic loads. If you start with a weak foundation, all the quality in top-layer materials will only delay the failure as opposed to preventing it. We emphasize proper excavation, removal of bad subgrade, and exacting grading to give the pavement the most solid base.

Our crews remove all unstable material until we reach firm ground, then rebuild with the right aggregate mix for the site conditions. Once the new base is in, it’s compacted in layers to create the strength that keeps pavement from flexing and cracking later. Every lift, every pass of the roller, is part of building that foundation.

Grading: Shaping for Performance

Grading defines how the finished pavement will perform once the base is in. We shape the lot or driveway to match the design elevations and establish the subtle slopes that carry water where it needs to go. The surface should shed water instead of holding it.

That process involves constant checking – the lasers, levels, and experience, to make sure the grade is consistent and the transitions are clean. A good grade is what keeps water from pooling, curbs from collecting debris, and edges from crumbling.

Compaction: Locking in the Foundation

After the grading is complete, the base is then compacted until it’s firm and unyielding. Every pass of the roller adds density and strength. The finished base should feel solid underfoot and capable of handling weight without movement. Density is what allows the asphalt layer to remain stable and fight against rutting and cracking as time goes by.

We take our time here because this stage drives how well the paving will go. When the base is level, dense, and dry, the asphalt will spread evenly and bond properly.

The Foundation for Long-Term Results

What you observe when looking at a freshly paved surface is really the culmination of everything that transpired beforehand. Excavation, grading, and compaction are the silent steps that ensure long pavement life. They dictate how the lot drains after a rain, how it handles a loaded truck in summer heat, how well it stands up to another tough winter.

The Asphalt Maintenance & Paving has built our reputation on doing that groundwork right. Each phase, starting from the first excavation cut to the final strip of asphalt, works in sequence to produce the strongest and longest-lasting pavement we can build.

Are you planning a paving project? Contact us to schedule a site visit. We’ll evaluate your base and build a foundation that’s ready for the long haul.

How We Seal Cracks: Behind the Scenes in Osceola


Cracks don’t usually look like much at first. You’ll see it start small, perhaps a thin line here, a little spider web pattern there, or just a few small spots most people would walk right past without a second thought. Give it a little time, and water will seep in. Salt too. Then winter hits and it’s freeze, thaw, freeze, thaw. It won’t take long before the pavement starts breaking apart from the inside.

A lot of people ask us what our crack sealing process actually entails. On a recent job we did in Osceola, we brought a camera along so you can see how we do it. Watching the crew work tells the story better than words, and how it all ties together to protect the pavement.

In addition to the video above, we’ve also put together a step-by-step breakdown of our crack sealing service:

Step 1: Assess the Lot

The first thing we do is walk the lot to see what we’re dealing with. We’re checking the cracks, where they are, how wide they’ve gotten, and how the pavement is holding up around them. Some can be sealed right away, others need to be routed first.

Step 2: Block Off the Work Area

Once we know our path, we block it off with cones so cars don’t cut through while we’re working. That way the crew can keep moving, and the fresh sealant can set without interference.

Step 3: Clean the Cracks

Every crack gets blown out with high-pressure air. Loose rock, dirt, weeds, it all has to come out so the sealant can stick directly to the asphalt. If there’s moisture in the cracks, we dry it out with heat until bone-dry. The seal won’t last unless the cracks are clean and dry.

Step 4: Route the Wider Cracks

If a crack is wide or has rough edges, we run a router over it. That cuts it into a smooth line so the sealant has more surface to grab onto. Not every crack needs it, but for the ones that do, it makes the seal hold longer.

Step 5: Heat the Sealant

The sealant comes in solid rubberized blocks. We load them into a melter and heat until it’s a liquid, usually in the 350-400°F range.

Step 6: Fill the Cracks

With the material ready, we apply the hot sealant crack by crack, using a wand or hose. We leave it slightly overfilled since it shrinks as it cools.

Step 7: Smooth the Surface

A squeegee is drawn across the top to leave a thin band that seals the edges. On hot days, we dust fresh lines with fine sand so tires don’t track the material.

Step 8: Cool and Reopen

The sealant cools pretty fast. Once it’s set, cones come up and the lot is open for business again, with cracks that are sealed and pavement that is ready to handle traffic again.

Crack Sealing in Action: Stopping Small Problems Early

Our Osceola client brought us in with winter on the horizon and cracks beginning to spread across their lot. Those lines would have continued to let in water, frozen, and broken the pavement apart from the inside if left alone. Sealing them now closed off that damage before it started and gave the pavement many more years of life.

Every project is a good reminder of what crack sealing really does: it protects the base underneath and saves property owners from the much bigger cost of full replacement. Thanks again to our Osceola client for bringing us in, we’re glad to help keep their lot in shape for the long haul!

Is your lot starting to show signs of wear? Get it sealed and keep the foundation strong with Asphalt Maintenance & Paving. Contact us and we’ll be sure to get you on the schedule.